 by Michael Hoffman
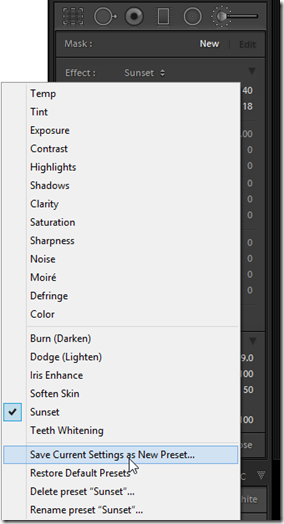
The introduction of the Local Adjustment Brush back in Lightroom 2 was the first step in transforming Lightroom from a global editor to a fully parametric, flexible content enhancement editor. The adjustment brush capabilities have improved with every release of Lightroom since then, but you may not have been aware of the existence of Adjustment Brush Presets. Adjustment Brush parameters can be set and reset at will, but Lightroom allows you to save specific settings together as an Adjustment Brush Preset. These presets may help you to speed your work and to operate more efficiently, especially in cases where you may be performing similar edits across many images. Check out the video for tips on using, creating and managing Adjustment Brush Presets. Lightroom Adjustment Brush Presets are not as powerful and flexible as their Photoshop brush cousins, but they are still quite useful. Keep in mind the main limitation of the Adjustment Brush Presets:
Adjustment Brush Presets store develop parameters only!
First published at TipSquirrel.com

No comments:
Post a Comment