Thursday 20 June 2013

Coloring with Photoshop – Skin


Originally posted at TipSquirrel.com 

Photoshop Nut : Janine Smith


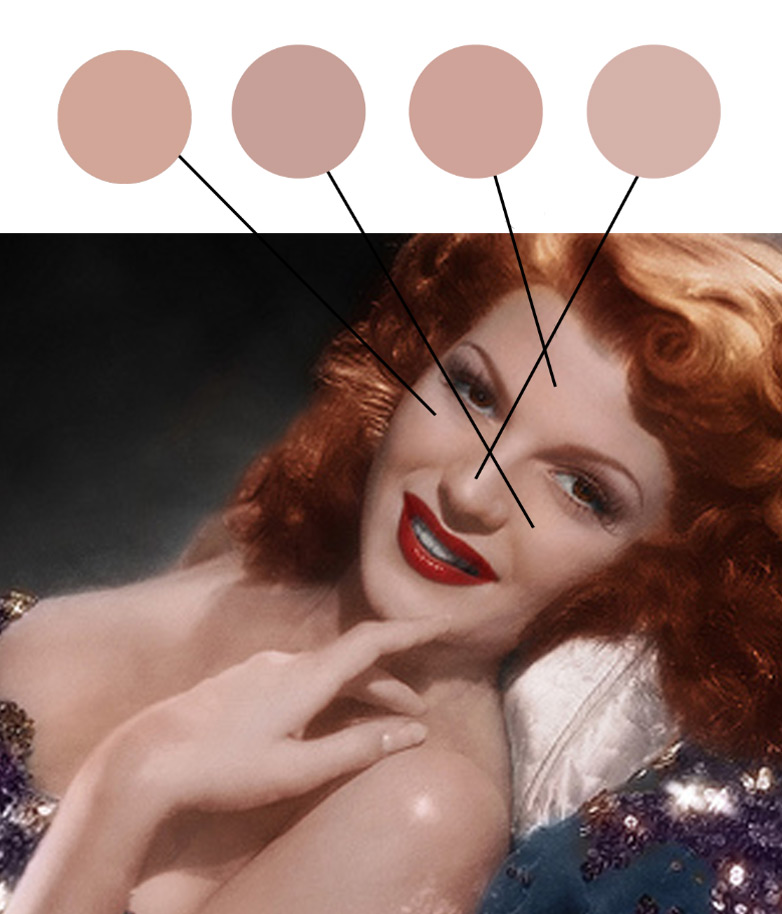
We’re going to perk things up a bit with a little help from history. First, we need to ask ourselves a couple of questions; what era is our image from and what era’s style do we want to borrow from? Of course, you can color your images any way you like, but personally, I like to borrow styles from the era the image was taken in. For the really old images that may mean striving for a watercolor or pastel look of a hand tinted image and portraits taken in the 40’s may call for the more saturated, glamorous style of that era. I’ll go more into the styles of each era and inspiration at a later date, but for now, since the image I’m working on was taken in the 40’s, you can go online and find an image or images from that era that appeals to you in terms of skin and hair color. You may feel like it’s wrong to borrow an image, but It’s okay to use these images for this purpose – all you’re going to do is sample color palettes, you’re not using the image or reproducing it in any other way. I liked the skin tones in this image of Rita Hayworth so I sampled some of the colors"


Wednesday 19 June 2013

Creating Torn Edges in Photoshop and Photoshop Elements

Originally posted at TipSquirrel.com 
Photoshop Nut : David Asch


The finished image of the tutorial showing a torn playing card

Hello everyone. This month I'm donning my top hat and tuxedo to perform a spectacular card trick for you.

First, I'll tear the card in half and then, without so much as a wave of a magic wand, I'll seamlessly mend it right in front of your very eyes! Seriously, though, if you've ever gone delving into the many filters available in Photoshop and Photoshop Elements, you will no doubt have come across the Torn Edges filter.

As the name suggests, it will give you a super torn edge effect on your image. Well, no, actually it won't, not if it's applied directly to the image, that is; all you'll end up creating is a fuzzy monochrome graphic element. In this tutorial, that can be used with both Photoshop and Photoshop Elements, I'll be showing you how to create a realistic torn edge using the Torn Edge filter but done in a different way.

Rather than applying the filter to the image, it will be applied to a layer mask. As we'll see, working in this way produces very different results; the effect does exactly what it's supposed to. We'll also see how filters can be layered within the Filter Gallery to create composited effects. This is a great way of creating the effect and it can be applied in many different situations. It also gives you much more control over the result than you would when using custom brushes or scanned elements.